How I Do My Own Gel Manicures While Traveling for Months at a Time
/
I personally love having a gel manicure while traveling so my nails are protected while transiting and handling luggage
I’ve always enjoyed painting my nails, and learned how to do my own gels so my manicures would last longer. Apart from having nails that look nice and are always presentable, it’s also practical to have a gel manicure so your nails are protected, especially while traveling and handling luggage.
I used to go to salons for gel manicures, but found that the methods they used to apply them and remove them were a little too harsh for my taste, and thus developed a preference for doing it myself. The method I use is thin enough that my nails are able to retain their own strength, but durable enough that my nails are protected and the polish won’t chip.
This article describes the products, brands, and method I use to do my own gel manicures while I’m traveling for months at a time, how to remove them myself without damaging my nails, and a few tips that I’ve learned from doing so every week for several years.
*Note that the method described in this article is only useful if you are already decent at painting your own nails
What you’ll need to do your own gel manicures while traveling
I first found the Red Carpet Manicure Gel Polish Must Haves Kit at Ulta a few years ago, and have been using Red Carpet Manicure products to do my own gel manicures ever since. As an added bonus, I found that the bottles in the kit were the perfect sizes for traveling. If the Must Haves Kit isn’t available online on Ulta’s website, I’ve sometimes been successful at finding it in store, or on Amazon. If that specific kit is sold out, you could purchase the Red Carpet Manicure Gel Polish Pro Kit which comes with the same products but in larger bottles, plus an LED light and a polish color, or you could also buy each of the products individually. To do your own gel manicure using Red Carpet Manicure products, you will need: 1. a UV LED nail lamp 2. “Prep” solution, 3. “Structure” LED base coat, 4. LED nail gel polish color, 5. “Brilliance” LED top coat, 6. “Purify” solution, 7. “Revitalize” solution, and potentially, 8. “Erase” solution. Stock availability may vary, but you can find the kits and each of the individual products on Red Carpet Manicure’s Amazon Store Page.
My favorite UV LED light that is perfect for traveling is the Mini Portable UV LED Nail Gel Lamp, which folds flat and is very compact. It uses a standard Micro-USB cable for power, and has an automatic 30-second shut-off timer.
I do my own gel manicure once a week so my nails are always protected and camera-ready
How to do your own gel manicure using the Red Carpet Manicure Gel Polish system
Step 1: Wash your hands with soap to remove any oils or lotions from your nails
Step 2: Dry your hands
Step 3: Use “Prep” to cleanse and dry your nails for maximum adhesion
Step 4: Apply “Structure” as a base coat, then cure under the UV LED light
Step 5: Paint your nails with your desired color, curing under the UV LED light in between each coat (I do three thin coats of color)
Step 6: Apply “Brilliance” as a top coat, then cure under the UV LED light
Step 7: Apply “Purify” to finish the manicure and remove any stickiness from your nails or fingers
How to remove your gel manicure while traveling, without damaging your nails


*Note that this method only works if you use the Red Carpet Manicure Gel Polish DIY system- this will not work for a gel manicure you had done professionally at a salon.
The “Revitalize” solution is a nourishing nail and cuticle oil, and is advertised as a finishing step in the Red Carpet Manicure Gel Polish process. While I feel like it does a nice job hydrating my cuticles and nail beds, I noticed that when I used it immediately after completing the process, my manicures wouldn’t last as long and would be more prone to peeling off within a few days. I then had a realization that I could use the “Revitalize” oil solution to remove my gel manicures, and hydrate my nails and cuticles at the same time. Instead of damaging my nails with the “Erase” solution (that comes in the kit) or other harmful acetones, using the "Revitalize” oil solution is an effective, easy, and beneficial way to remove my gel manicures.
My DIY gel manicures using the Red Carpet system usually look pretty perfect for about 7 days, until I notice my nails have grown and the edges of the gel polish start to peel very slightly. Once this happens, I apply a generous coat of the “Revitalize” oil solution to my cuticles and the edges of the polish, allowing the oil to soak under the polish, and within about 10-15 minutes I can easily peel off the polish without damaging my nails. If sections of the polish don’t peel off easily, I let the “Revitalize” solution sit longer on my nails, which I am happy to do since it’s not an alcohol or acetone.
If you purchase either the Red Carpet Manicure Gel Polish Must Haves Kit or the Red Carpet Manicure Gel Polish Pro Kit, it will come with the pink “Erase” solution for removal. I personally don’t use this to remove my gels because I find it to be inconvenient and messy to apply with foils, and I don’t like that it may potentially damage or soften my nails. It is worth keeping it on hand though, as I’ve found that it’s the only thing that will remove the gel polish if I make a mistake mid-application and need to start over for whatever reason.
Tips for using the Red Carpet Manicure Gel Polish Kit and Mini UV LED Lamp
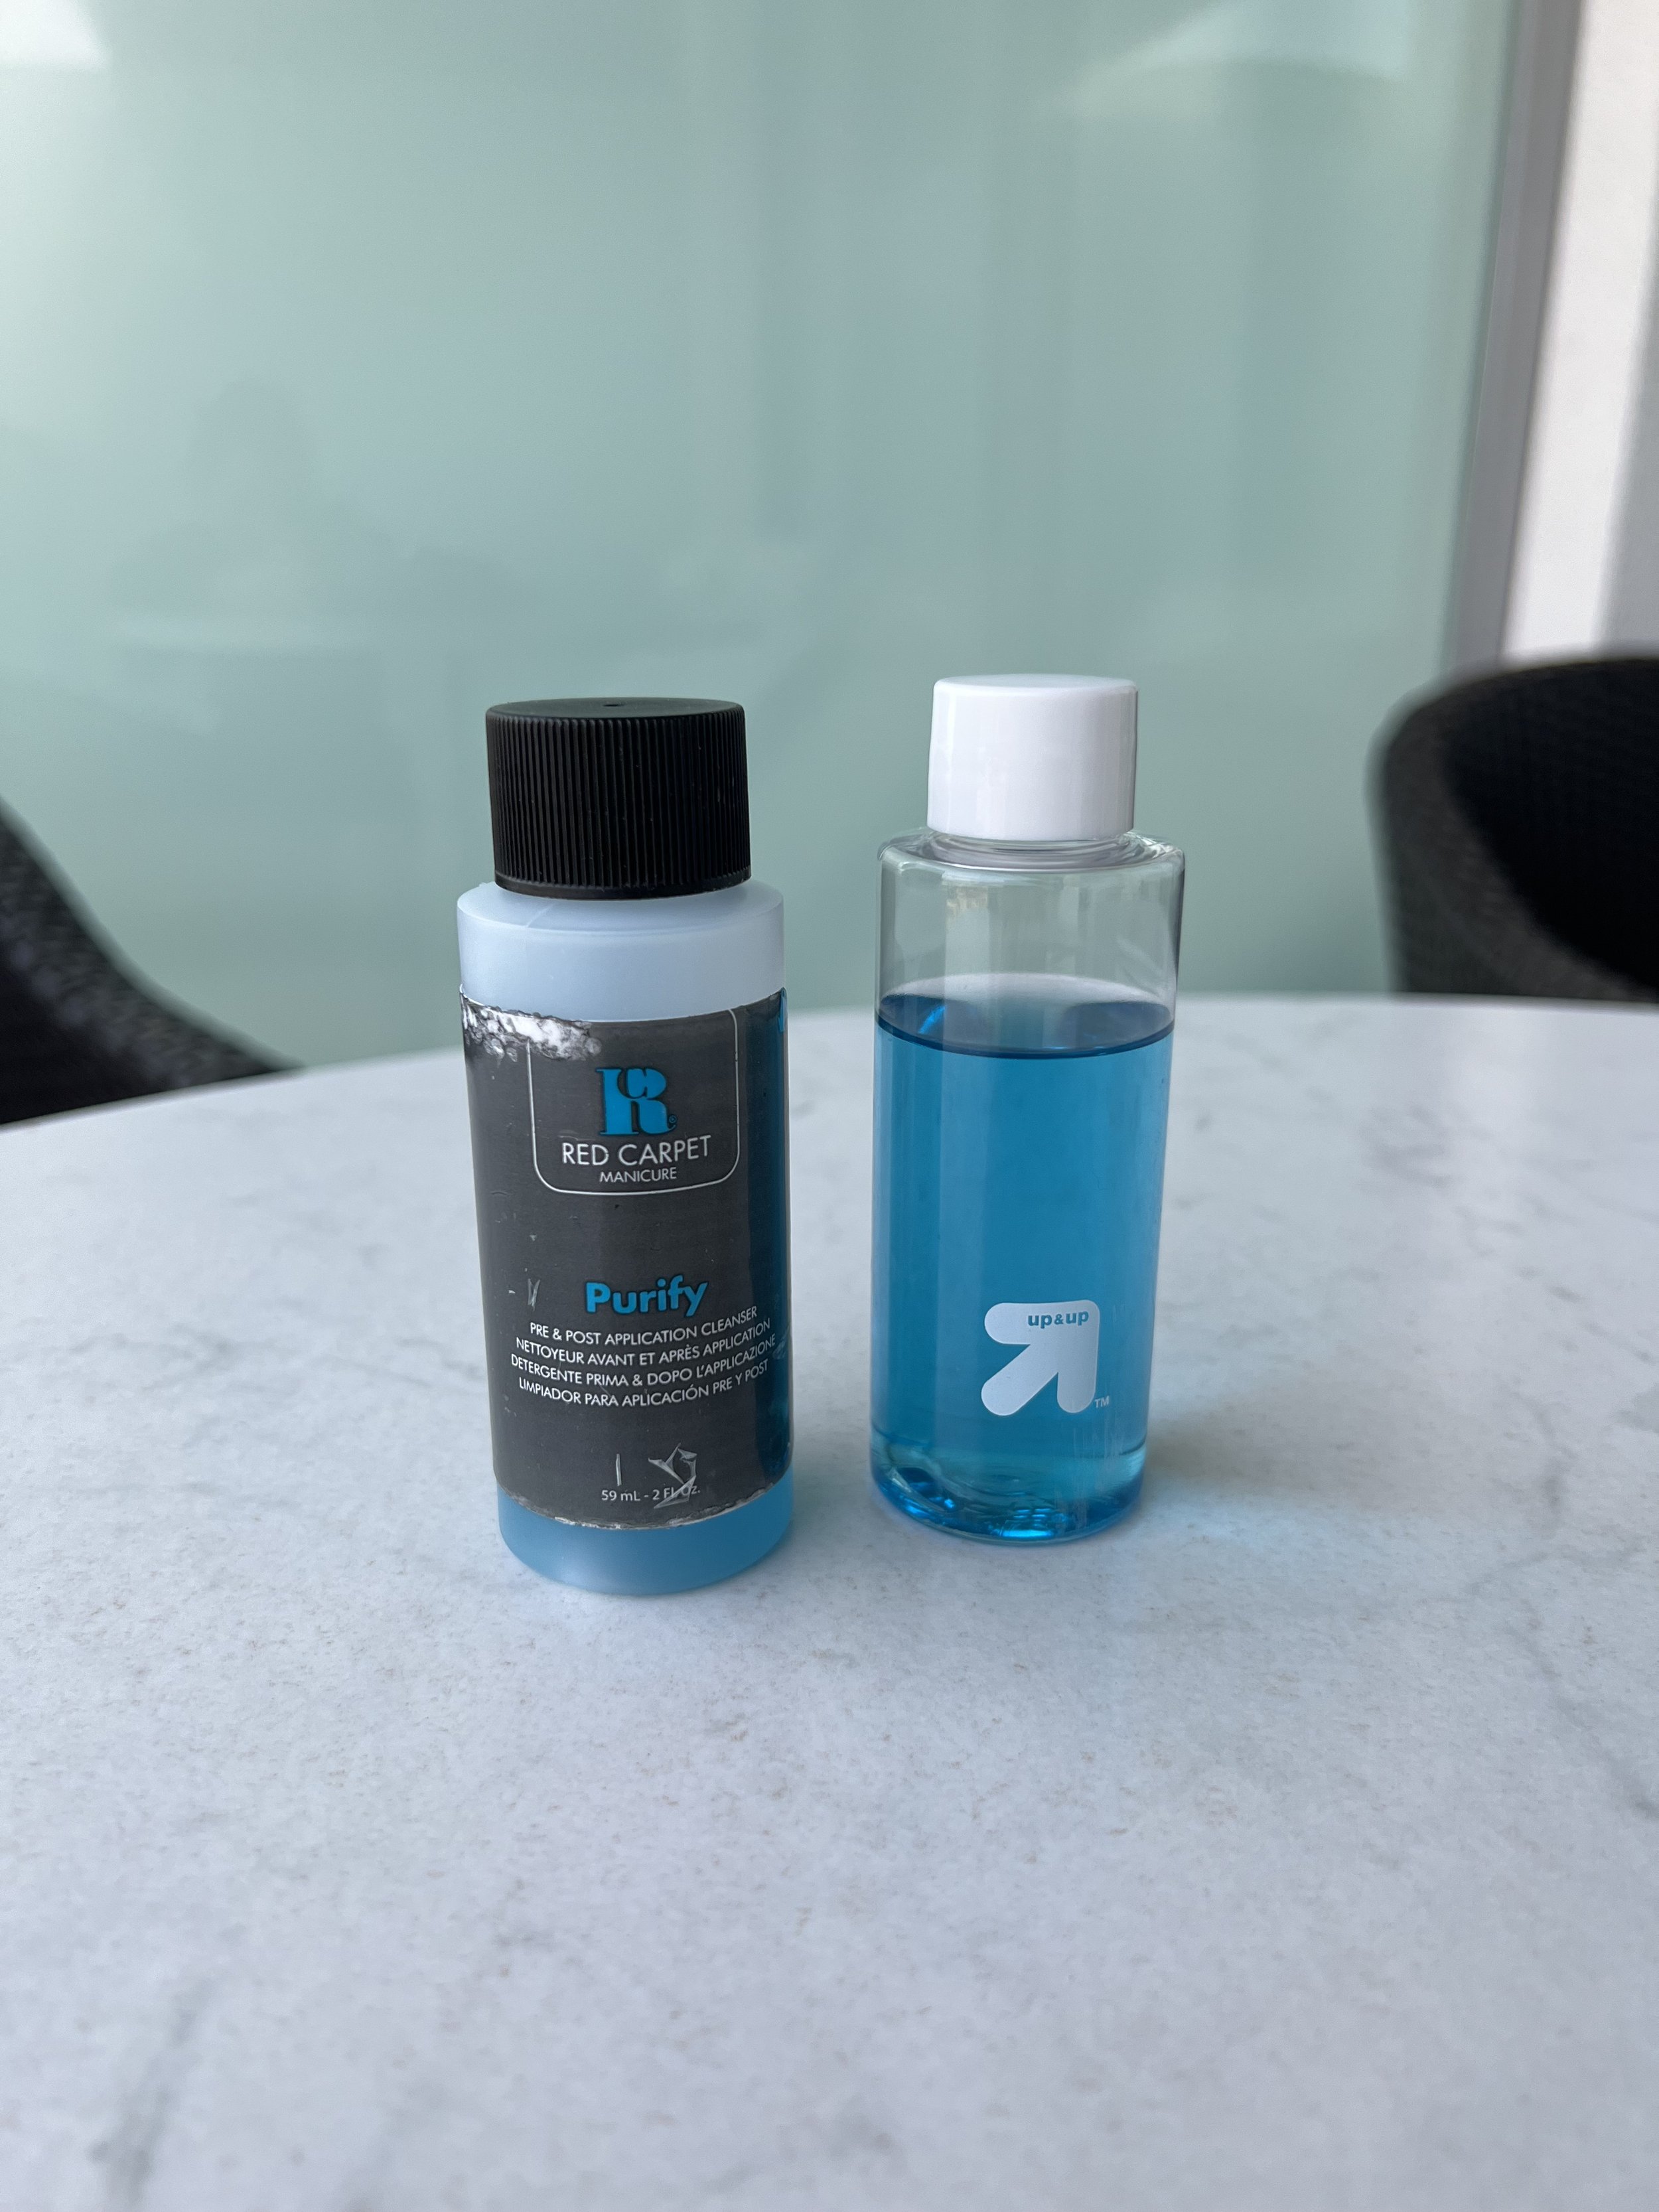
I learned the hard way that the bottle the “Purify” solution comes in does not travel well, and will leak when traveling on an airplane. I transferred the solution to another travel-sized bottle (from Target) and the problem was solved!
1. Though the bottles that come in the Red Carpet Manicure Gel Polish Must Haves Kit are the perfect travel size, I learned the hard way that the plastic bottles the “Purify” and “Erase” solutions come in do not travel well. They will leak when you bring them on an airplane, regardless of if they are packed in your carry-on or check-in luggage. An easy solution to this problem was to transfer the liquids into TSA-approved travel-size bottles that can be sealed more securely and can better handle air travel. I found that the twist-top travel-size bottles from Target work perfectly, but you can also find highly-rated options on Amazon.
2. Another potential issue that I learned the hard way is to only do your gel manicure under artificial light or while in the shade. Don’t do your nails in direct sunlight, because the polish (specifically the “Brilliance” top coat) can cure when exposed to the sun. If you are applying the product in direct sunlight, the applicator brush will harden (rendering itself useless) and the polish will be uneven on your nails.
3. If you use the “Revitalize” solution to remove your gel manicure (like I do), then make sure you wash your hands very, very thoroughly with soap after if you plan to do your next gel manicure immediately. Because the “Revitalize” solution is oily and does a good job of removing a gel manicure, I’ve noticed that it will also affect the other products’ ability to adhere while you’re completing each step of the process.

Any hotel room or rental unit will have two cups that you can use to raise your nail lamp to make the process more comfortable
4. The Mini Portable UV LED Nail Gel Lamp is very compact, so much so that you may find you can’t fit your entire hand under the light while doing your gel manicures. To make the curing process more comfortable, I raise the light by setting it atop two cups which you will be able to find in any hotel room or rental unit.
5. As much as I love my Mini Portable UV LED Nail Gel Lamp, I worry that since it’s so inexpensive that it might die on me at any moment while I’m traveling for extended periods of time (which thankfully at this point, hasn’t happened). Fortunately, because the nail lamp is so inexpensive, lightweight, and compact, I purchased a second one so I could travel with a backup that won’t take up too much space or weigh down my luggage.
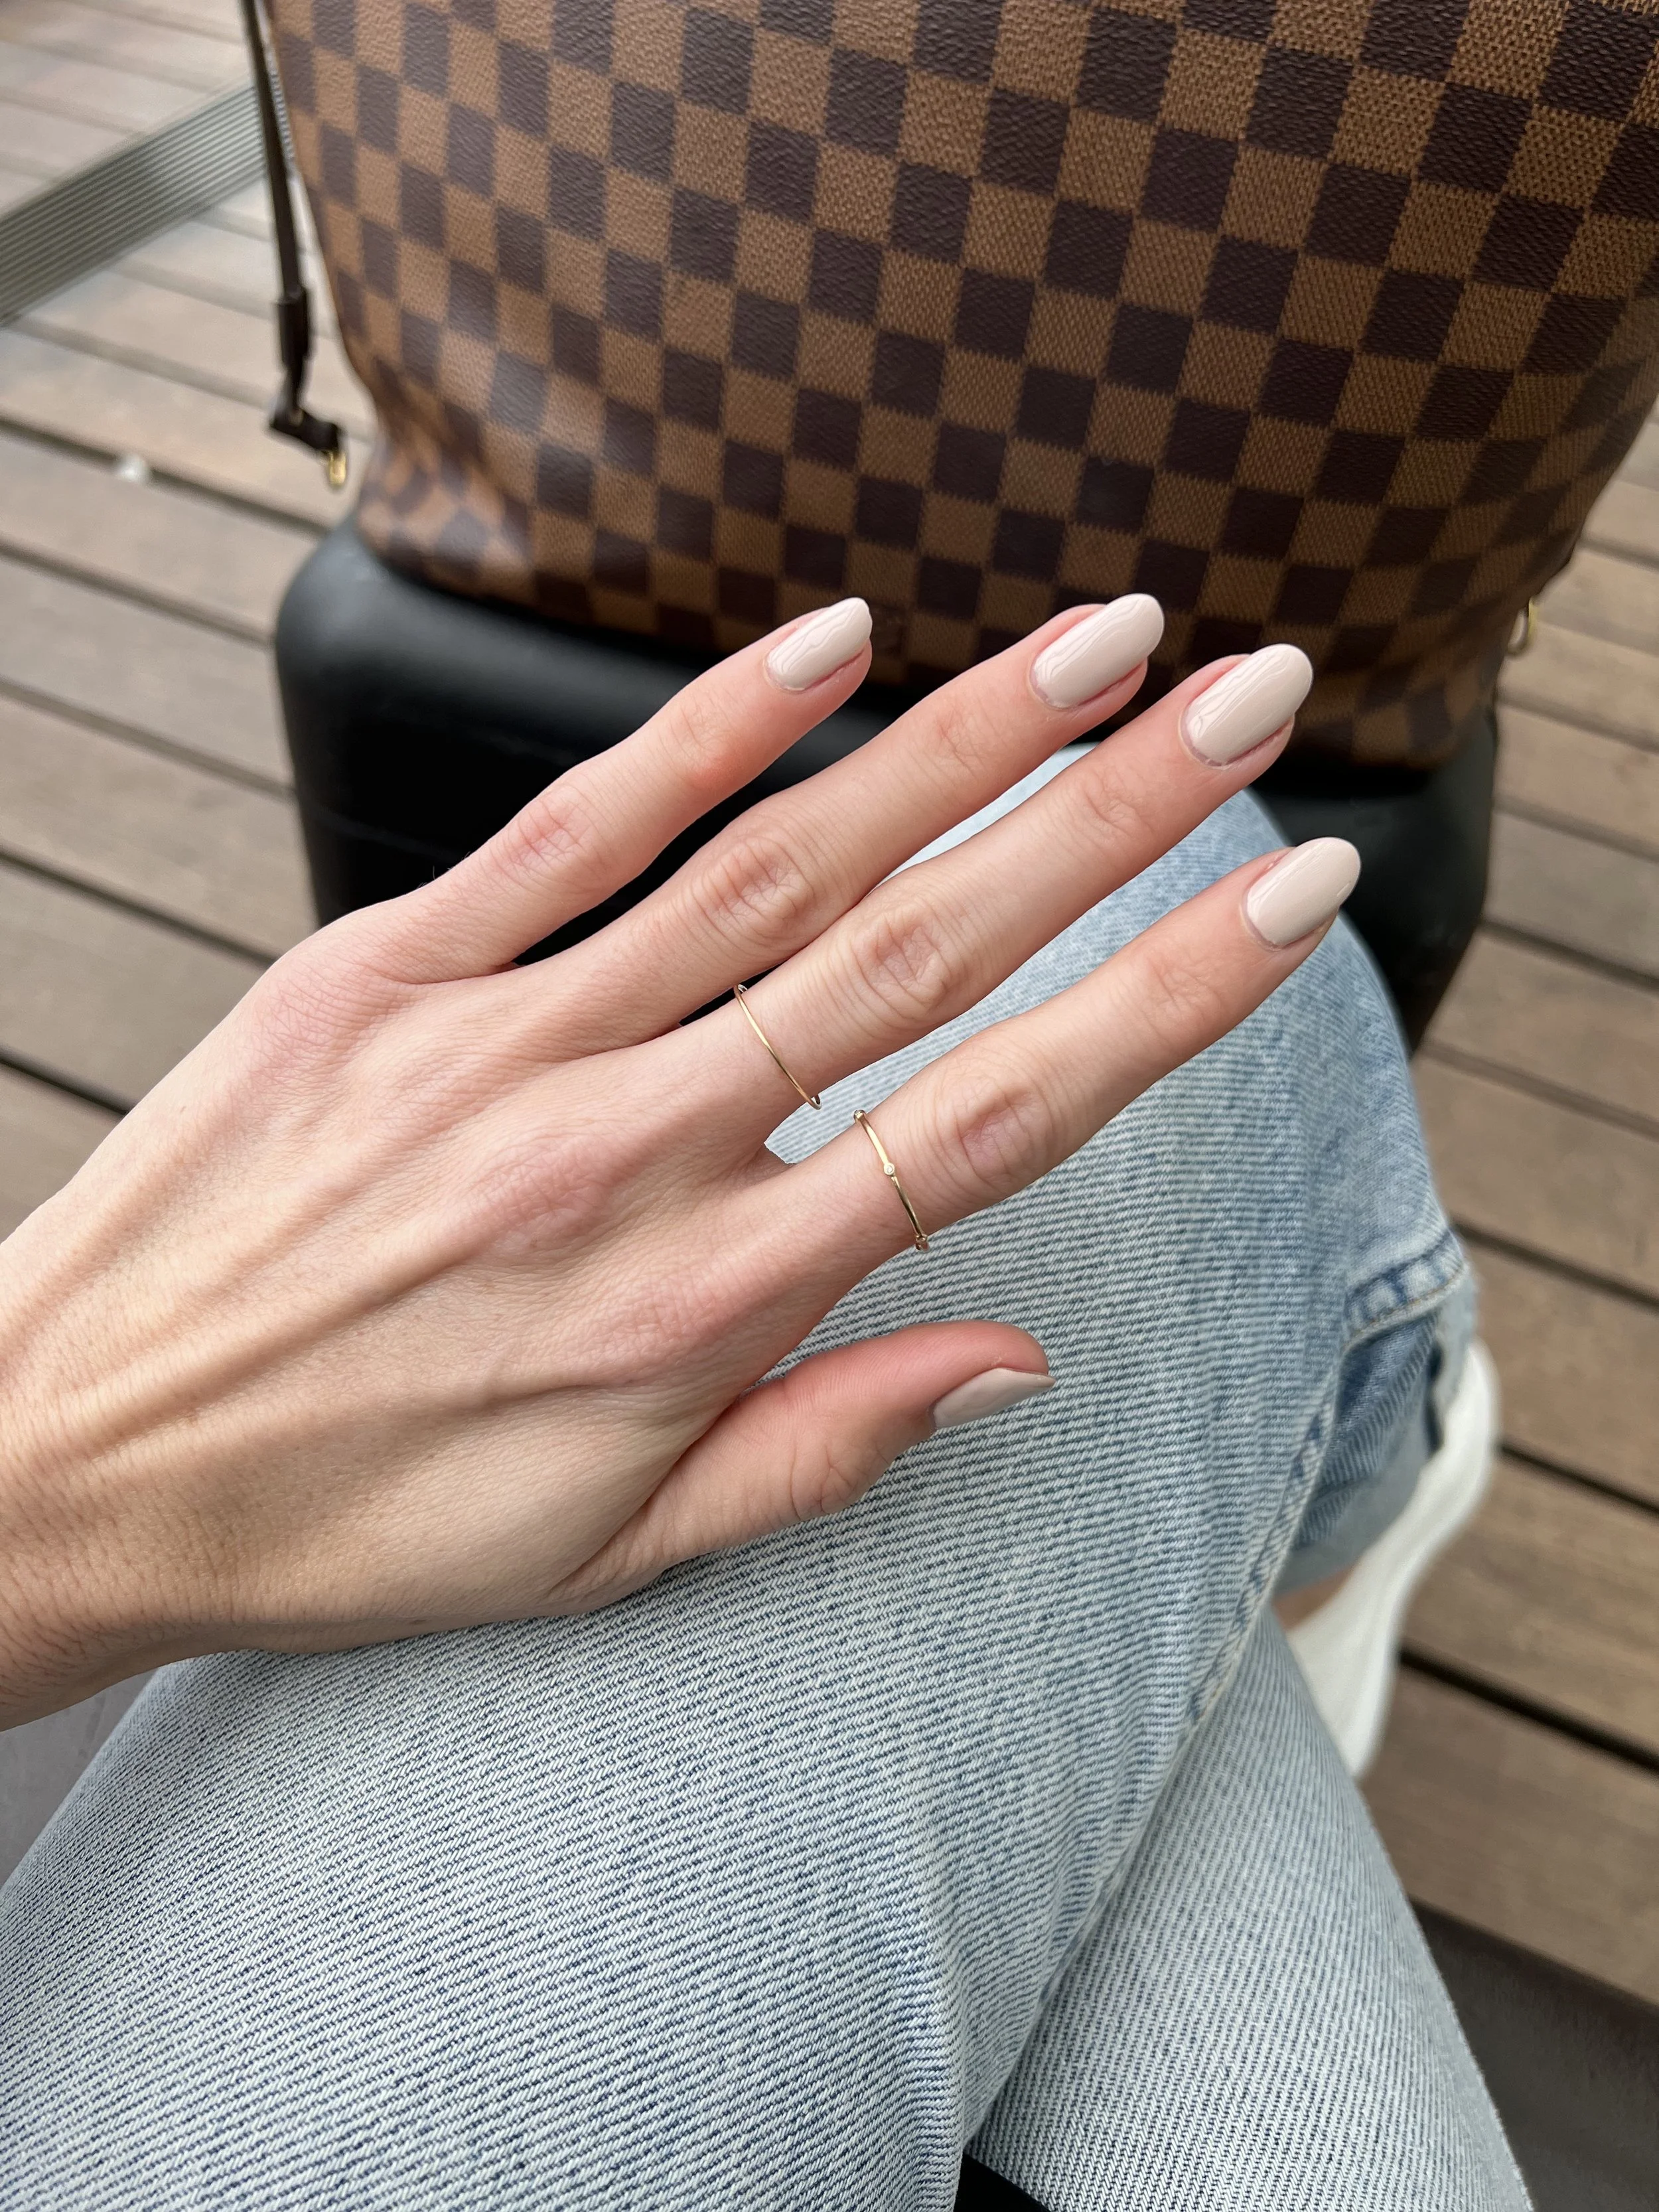
6. I personally love a nude or neutral shade on my hands, and if you’re interested in what my favorites colors from the Red Carpet Manicure range are, they’re: Altinude, Nude Outlook, and Naturally Beautiful. Also- the method I’ve described in this article also works for pedicures! The shade of classic red that I love for my toes is On The Big Screen.

I bring my gel manicure kit with me on any trip longer than a week- This was my setup in my Airbnb in Beirut, Lebanon


UPDATE: I was curious to see how long my manicure would actually last if I didn’t remove it after one week, and I was happy to see that after 20 days, my manicure was still in great condition. My nails grow fairly quickly, so what was most noticeable was how long they were and how grown out my manicure was at the 20-day mark. During this time I avoided using any oils, lotions, or creams on my hands, and fell in love with using La Roche Posay’s Cicaplast Mains, which feels more like a hand serum that is hydrating, soft, and non-greasy.
I’m sure my manicure would have continued to last another few days, but my nails were becoming too long for my on-the-go lifestyle so it was time to file them down and do another manicure. I’ll continue to update here as I discover more tips for making my DIY gel manicures last longer!
Are you looking for a solution to maintain your manicures while traveling, or are you researching methods for doing your own gel manicures and have a question about my experience? Let me know in the comments below.


This post contains affiliate links and at no cost to you, I may earn a commission which allows me to keep this site free for all readers. I only recommend products, brands, and services that I personally use and believe in.