Tips for Flying Internationally with a Pet in Cabin
/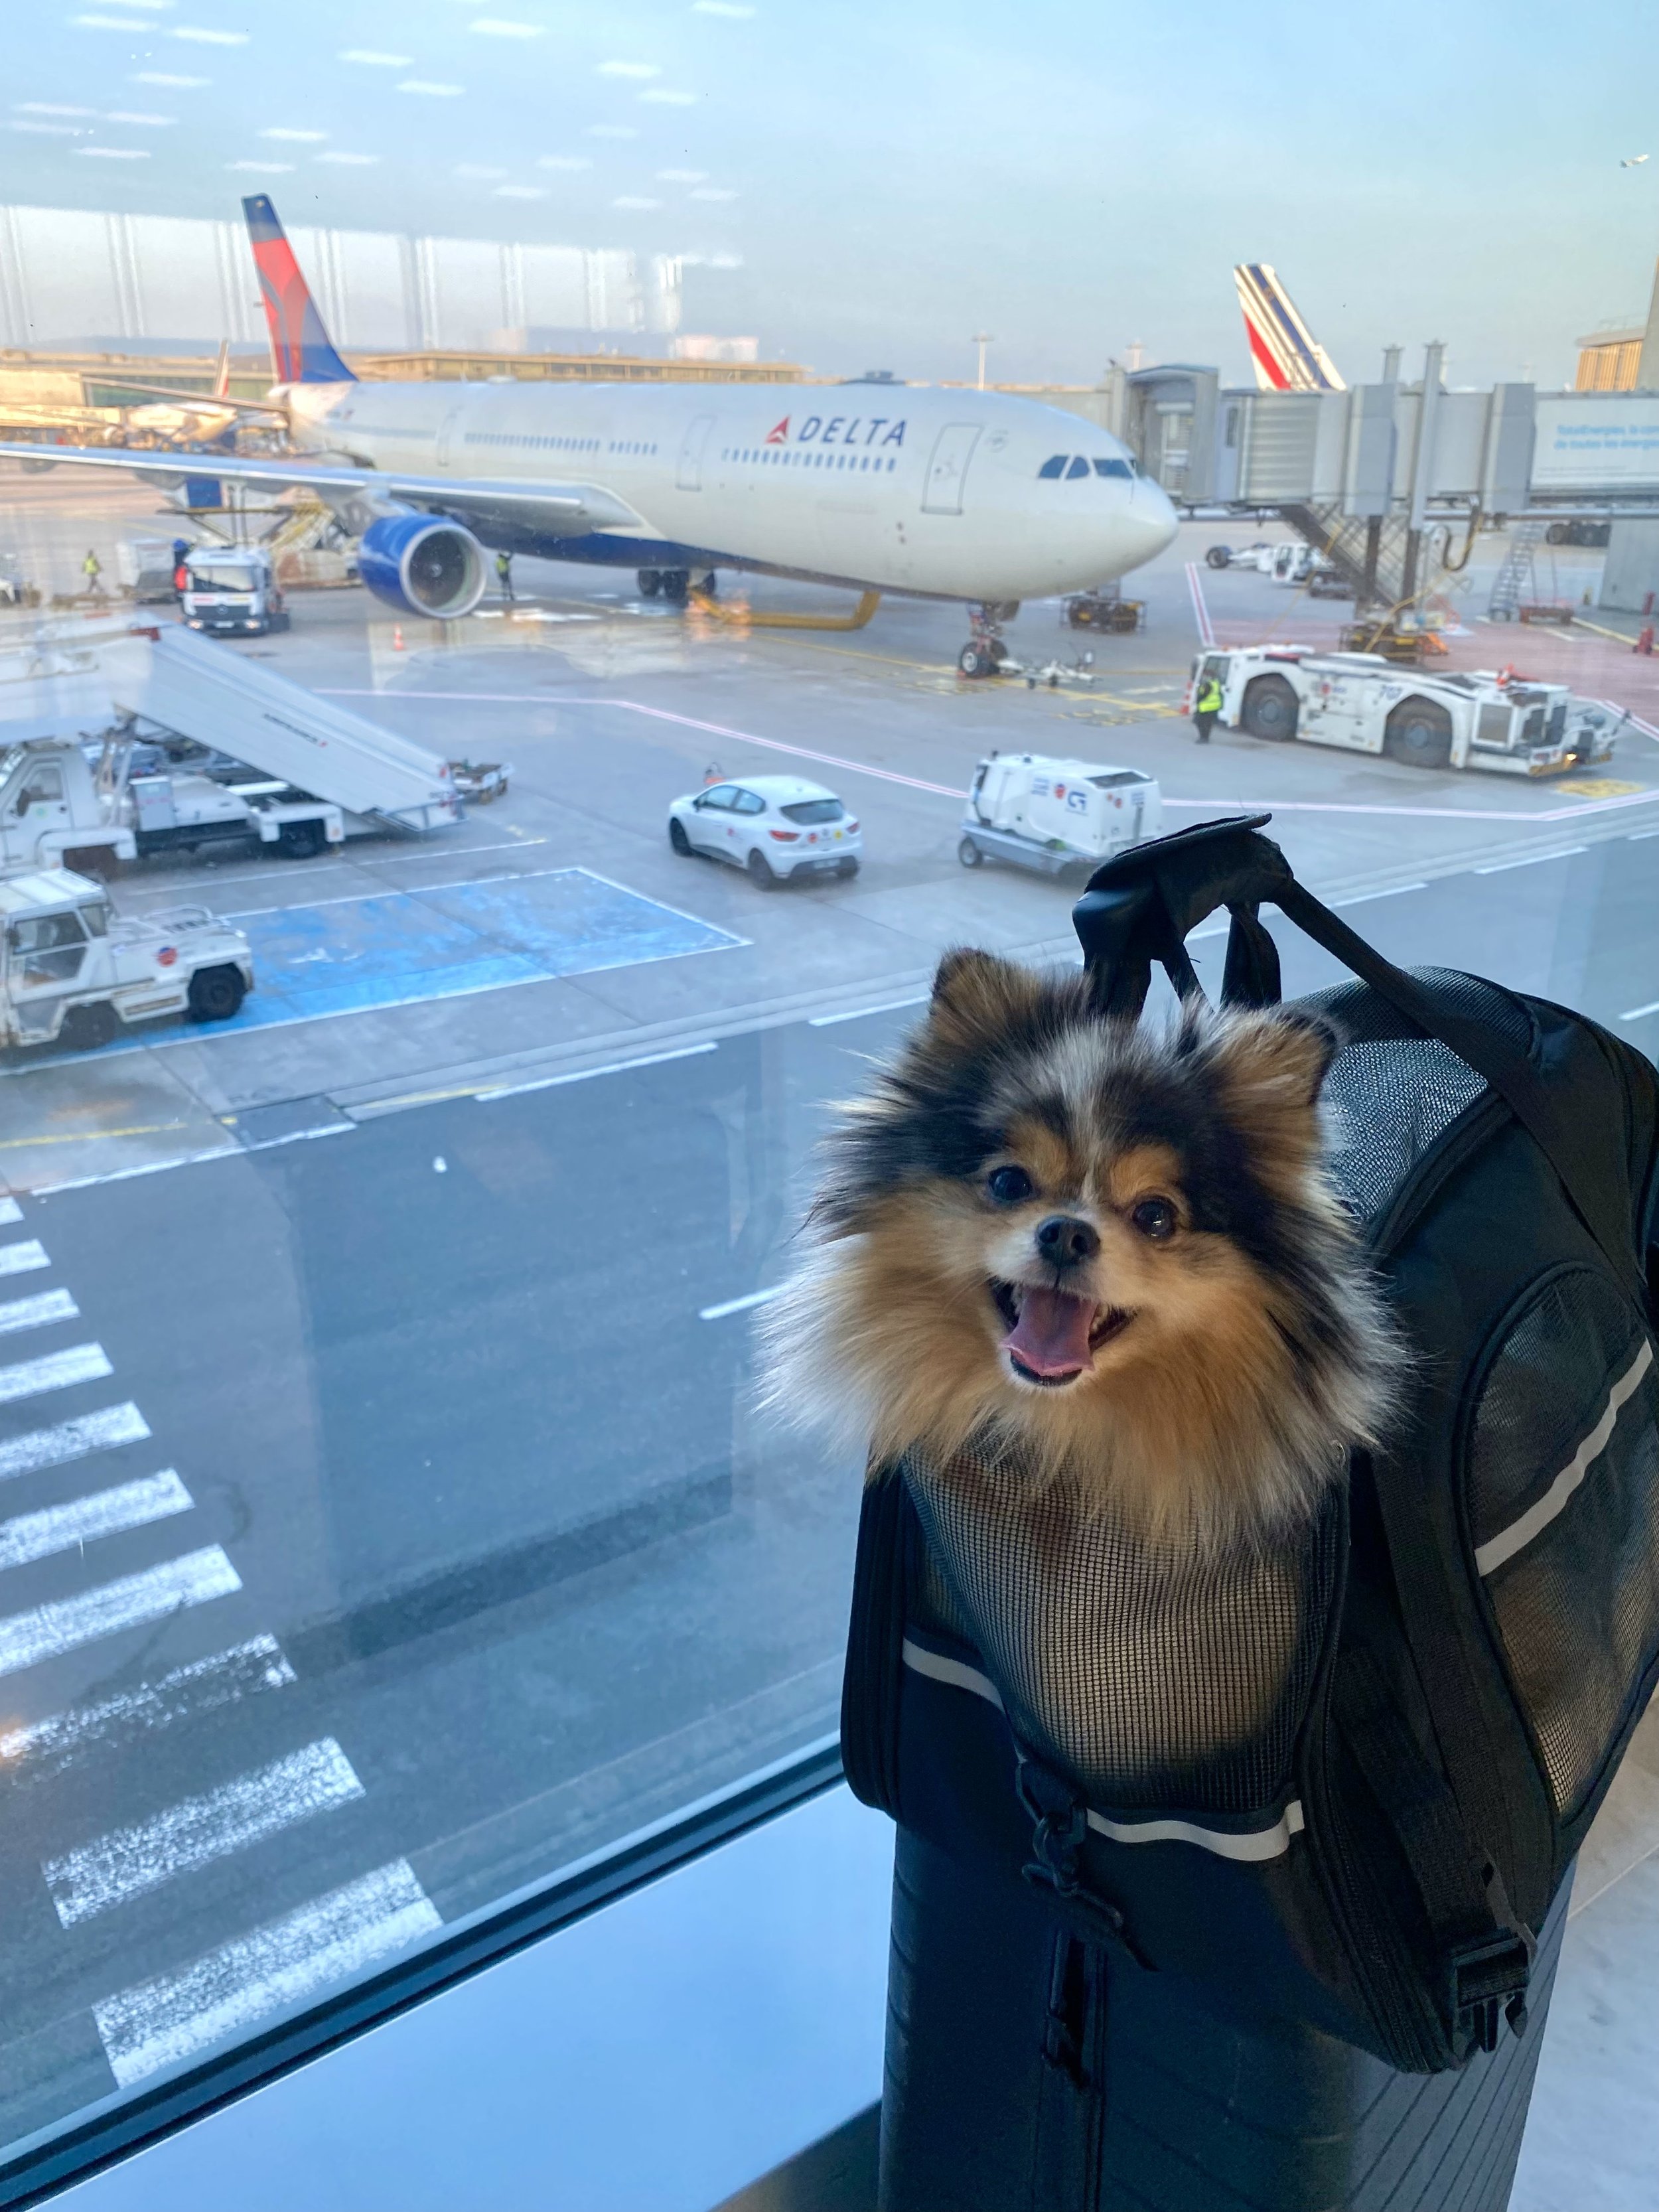
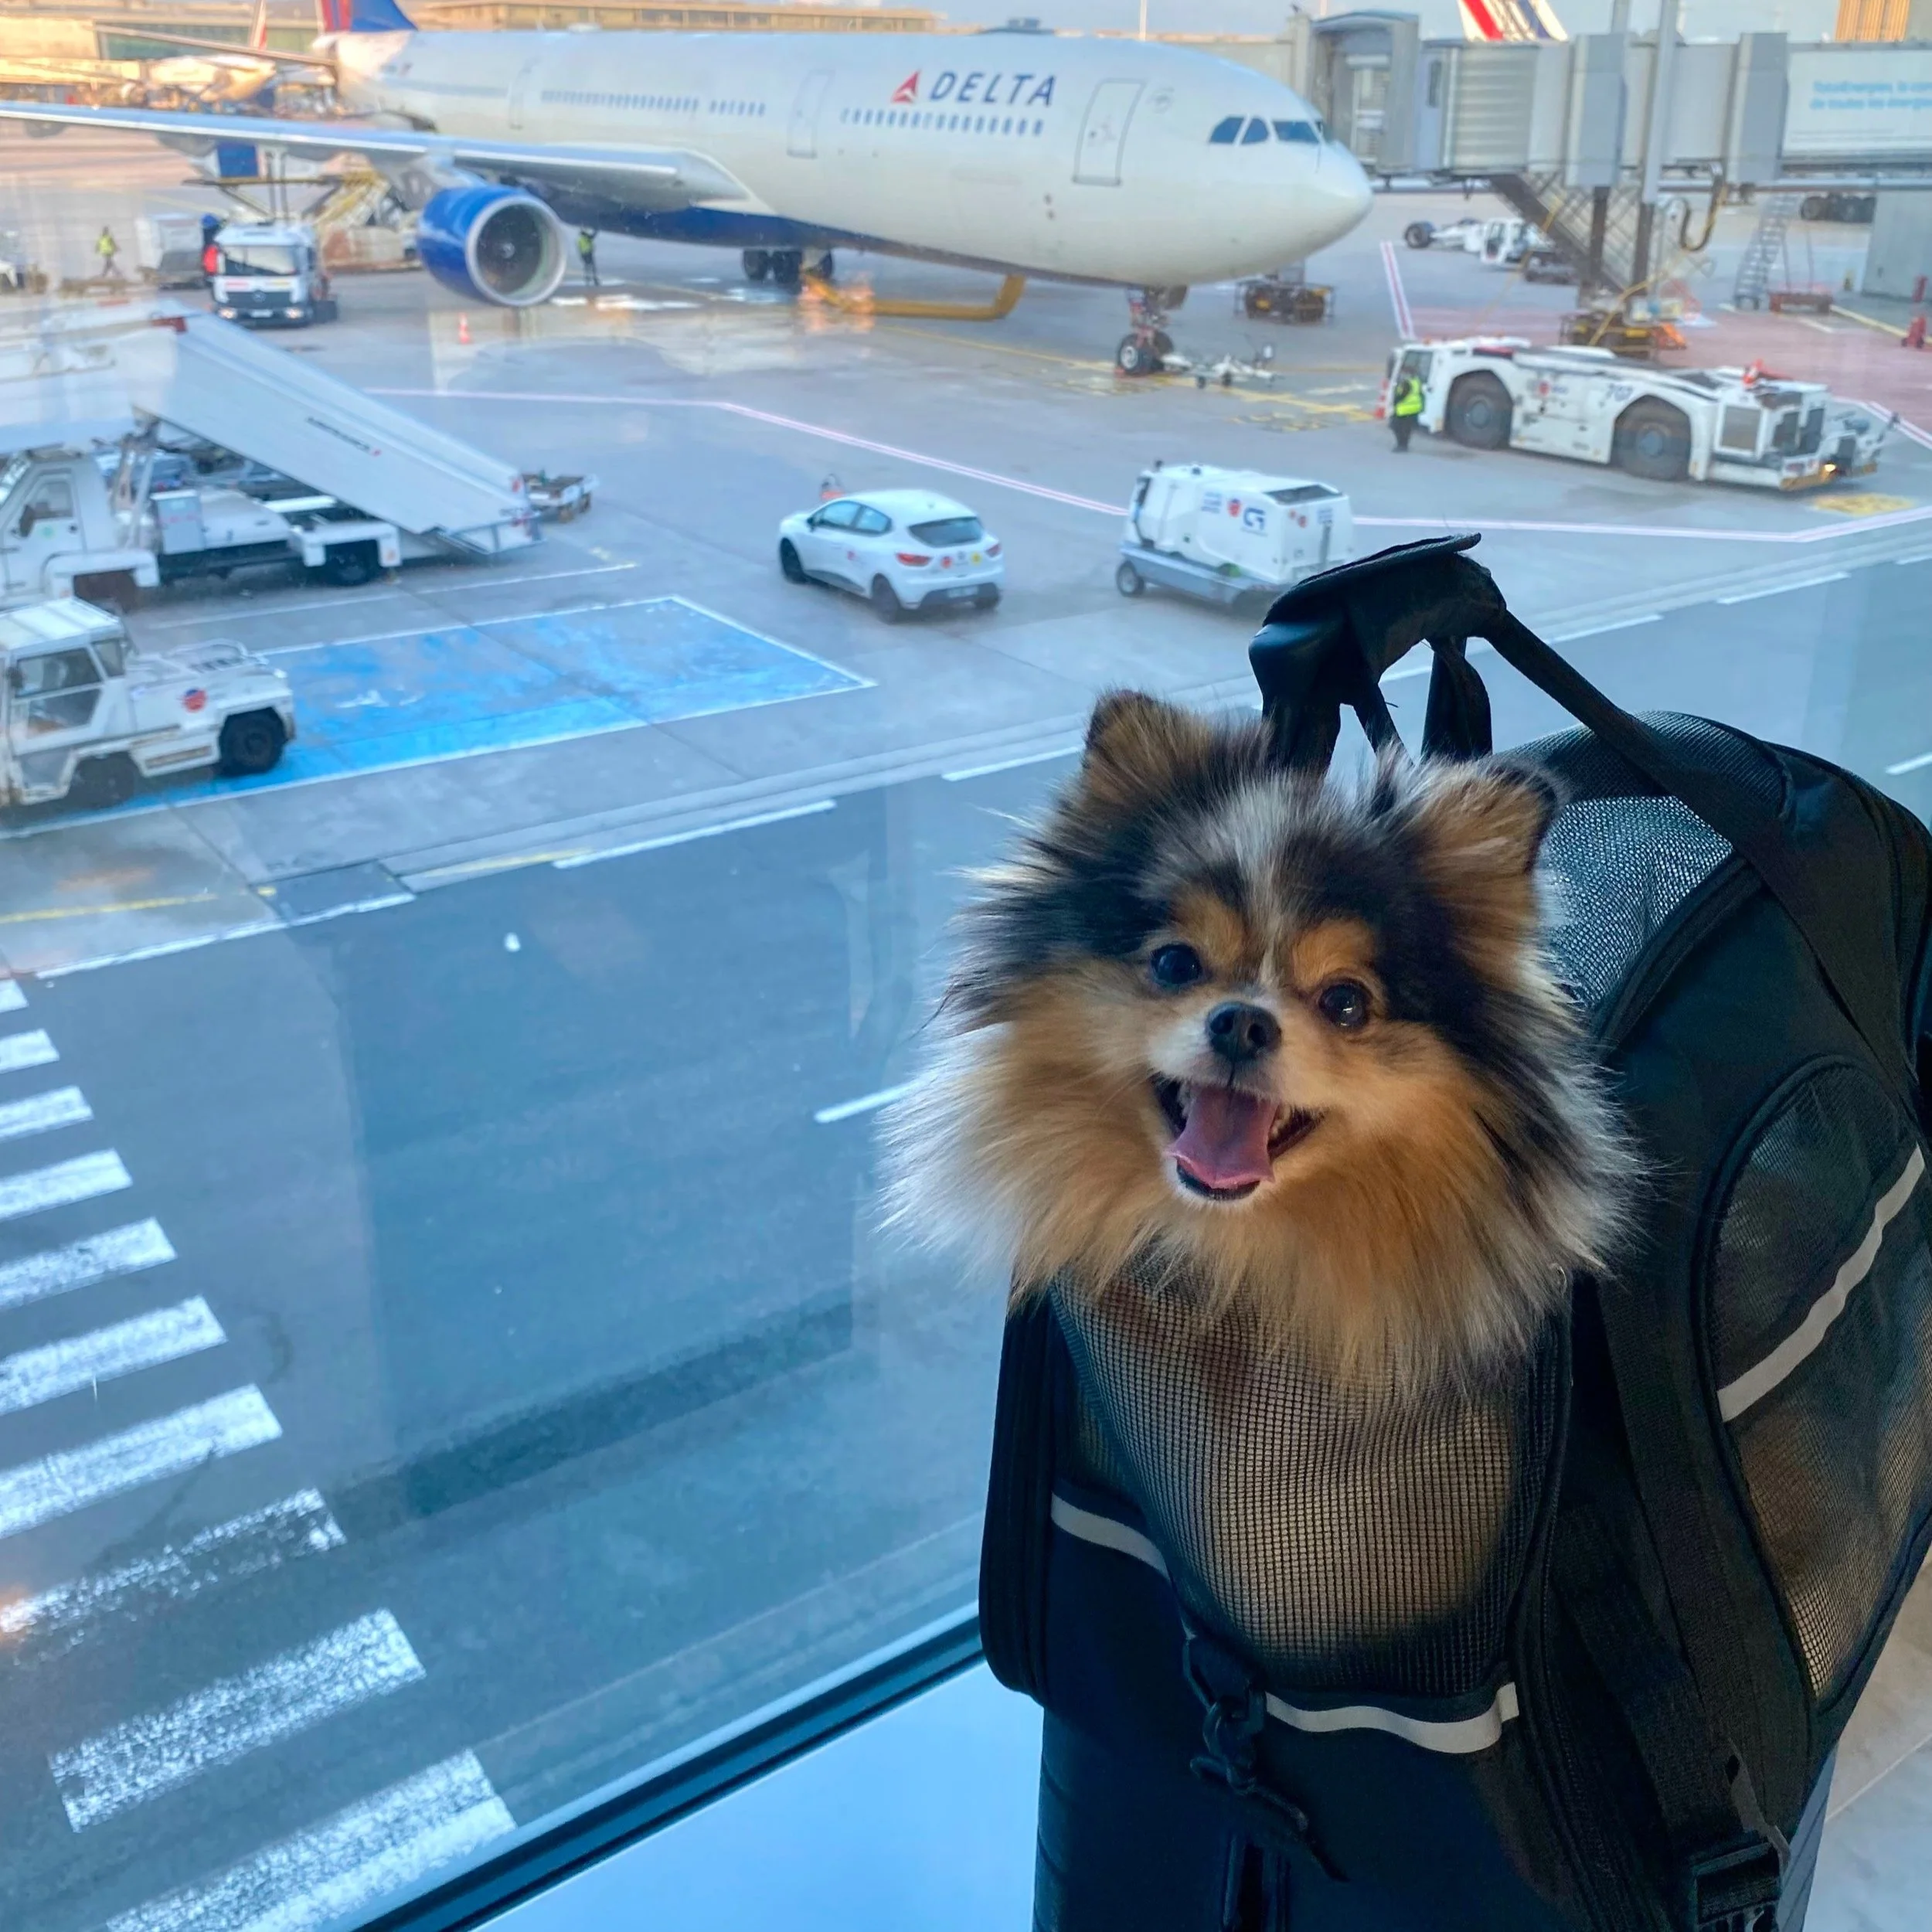
At CDG Airport in Paris, France before boarding our Delta flight to the US. Typically pets traveling in the cabin must stay in their carrier at all times within the plane and in the airport, but we quickly managed a photo opp!
Though I’ve written at length on many topics relating to solo traveling, I have to share that I’ve had some company on my trips recently! My 3 year old, 3kg Pomeranian is a wonderful world traveler, and has been the best buddy who accompanies me everywhere. Together we’ve traveled between Europe and the US on multiple occasions, as well as throughout the US, and across Europe through various countries.
Having navigated pet-in-cabin policies and government requirements for importing pets for various airlines, states, and countries, I’ve noticed a few general similarities from all of my travel experiences, and have compiled a list of my best tips to hopefully make your experience a little easier.
1. Only trust official sources for rules and regulations
Many blogs about flying with a pet in cabin (mine included) can only give advice or tips, and not official instruction. Be sure to only follow the rules and regulations provided by official sources like government sites for customs or animal importation, or from the specific airline you will be flying with. In my experience, rules and regulations listed on government sites and airlines have been very clear and straightforward.
2. Verify the airline’s pet-in-cabin protocols
Verify that the airline accepts pets and review their process for adding your pet to your itinerary. Some airlines will ask you to confirm your pet’s carrier dimensions and weight, some airlines will ask you to book your flight first then call customer service after to request to add your pet to your reservation, some airlines will allow you to confirm and pay for your pet-in-cabin as an additional option while booking your flight online, while some airlines won’t require you to pay until your pet’s health, documents, and weight are verified when you check-in in person at the airport. Each airline seems to have their own policies and requirements, so don’t assume that one airline’s process is the same for others.
Note- if the airline’s process requires that you book your ticket first then contact customer service after to request to add your pet, then do so within the 24-hour cancelation period. If for some reason the airline is not able to add your pet (potentially due to the maximum number of pets allowed in cabin already being met), then you will be able to cancel your ticket without penalty, but only with the 24-hour grace period.
3. Be prepared to pay a pet fee and for additional baggage
Every airline that allows pets to travel in the cabin has a fee structure in place that sometimes varies for domestic or international destinations, which can range anywhere from $50 to $200+ for a one-way flight. You can usually find these fees listed on the airline’s website. In most cases, a pet-in-cabin will count as your personal item when you fly— because of this, you will have to check your baggage which may come at an additional cost, in addition to the pet-in-cabin fee. When I travel with my pet in the cabin, I typically check my larger suitcase to my destination. The tote bag containing my computer, travel documents, wallet, snacks, etc, that usually would be considered my “personal item” then gets placed inside my rolling carry-on suitcase which is mostly empty. It’s important for me to have my rolling suitcase to relieve the weight of my pet while in transit, because carrying her transport bag on a long travel day can become very tiring and uncomfortable.
4. Choose flights that are as direct as possible, with a minimum 2.5 hour layover
If you aren’t able to choose a direct flight to your destination, find a route that with a layover that is 2.5 to 4 hours. This will keep your overall travel time to a minimum while still giving you enough of a buffer to not have to rush through your connection airport and give your dog ample time to relax, drink some water, and relieve itself.

My dog patiently waiting in her carrier while returning my rental car at the Munich Airport after a ski trip to Austria. Because Her carrier counts as my personal item, I have to check in extra baggage at an additional cost.
5. Review requirements for all layover regions (and possible re-route options)
If your flight has a layover somewhere, consider the specific requirements for that country or state. You may be asked prior departure to provide all required documentation or proof of specific vaccinations for your pet for every region, even if it’s just in transit. If there are possible disruptions or delays to your flight and you are required to stay overnight in your layover region or country (and if you have to exit customs through that particular country) then you will already be prepared with their required documentation. For example, the states of Washington or Utah may have different requirements for importing a pet from abroad, so even though my final destination is California, it may make a difference if I choose a flight from Paris, France that has a layover in Seattle vs Salt Lake City.
6. Avoid connecting in a third country
For example, if you are flying from the US to France, don’t choose a flight that connects in London, England. England has its own strict requirements for allowing pets to enter that may differ than France’s entry requirements, so it’s best to avoid any additional complications. Even if you are able to buy a ticket and board the plane with your pet in cabin, any cancelations or delays may leave you stuck in the third country, potentially unable to leave the airport until you are rebooked.
7. Start training as early as possible
The sooner both you and your dog can get accustomed to the experience of traveling together, the better. Travel days can be long, noisy, crowded, and uncomfortable, but if you and your pet can become used to the experience it will feel easier each time.
8. Get your pet accustomed spending long periods of time in the carrier
Before flying with any of my dogs, I spent a good amount of time with them traveling around Paris by metro and by car, always in their carrier. This helped them get used to noises, smells, crowded spaces, other people’s voices, and the movement and experience of spending time in the carrier. Additionally, whenever I travel by car, my pet is always safely buckled in (with the designated buckles that are attached to her carrier) to a seatbelt.
9. Take them to fun activities in their carrier
Something very common that happens among pets is that they only experience the carrier when they go to the veterinarian, which is usually when they are feeling sick or will be exposed to a stressful situation. I trained my dogs by transporting them in their carrier while running errands, when going to visit with friends, or go to a fun place like a park. That way, there is no clear association that the carrier is negative, but rather is a vehicle to adventure! When I take the carrier out of the closet, my dog will immediately jump right in, excited that I will take her somewhere. It’s also become a safe and comforting space for her, and if it’s been left out I’ve caught her going into her carrier to sleep even when we are just relaxing at home.

My dog is potty-pad trained so she can relieve herself in any bathroom in case there is no pet-relief area nearby. Even in a pet-relief room as nice as this one in the LAX Delta Terminal, she still prefers her pads!
10. Consider potty pad training
My dogs are trained to use potty pads inside the house. This has been a great convenience in general, and has proven to be a great blessing on long travel days as well. Many airports have designated pet relief areas, but in the event that one is hard to find, inconvenient to reach, or simply doesn’t exist in the airport or terminal that you are traveling through, you can easily give your pet the opportunity to relieve itself on a potty pad in any airport bathroom stall. Doing so can greatly reduce the amount of time they would have to hold it in case they are only accustomed to going potty outdoors.
11. Pack a few day’s worth of dog food in your carry-on
I use resealable silicone bags to bring some of my dog’s dry food along for the journey. In case of delays or cancellations, it’s good to have a few days worth so you don’t have to go searching for replacement dog food if the food that you packed in your check-in luggage makes it to your final destination without you. Thankfully my dog doesn’t seem to get nauseous or have an upset stomach when flying by plane, so it’s good to have some of her food packed in my carry-on so she can have a little snack during our layovers.
12. Keep your dog’s diet really regular in the week leading up to a flight
Before traveling, don’t introduce new treats or new foods that might upset their stomach— as this can make flying uncomfortable for your pet and for you. My dog generally eats the same dry food and same brand of treats daily, so her system is very regular, healthy, and honestly– convenient for flying.
13. Bring a collapsible water bottle
Always have water readily available for your pet on a travel day and multiple times throughout a long flight. I know I start to feel horrible if I’m dehydrated, so I try to avoid my dog ever feeling that way too. Because full plastic water bottles are not allowed through security and are generally very expensive to purchase in airports, I always travel with a convenient, collapsible water bottle that I can refill for free after completing security checks. Having collapsible silicone bowls is also an easy and space-efficient way to serve water or snacks to your pet while traveling.
14. Get to the airport early to check in in person
When traveling with a pet in cabin that is already registered to your ticket, most airlines will require you to check-in in-person when you arrive to the airport so they can collect the pet fee, verify the health, size, and weight of your pet along with any required documentation for your departure location or destination. Because you won’t be able to check-in online, you will have to give yourself ample time to wait at the check-in counter prior to your flight.
15. Bring treats or chew toys to relieve pressure during takeoff and landing
Similar to humans and babies, dogs may experience a bit of discomfort due to pressure changes while flying. If your dog has a favorite chew toy or type of treat that can be used as relief to get their jaws moving or a potential distraction, I suggest bringing it and presenting it to them only at takeoff or landing while pressure changes are noticeable.
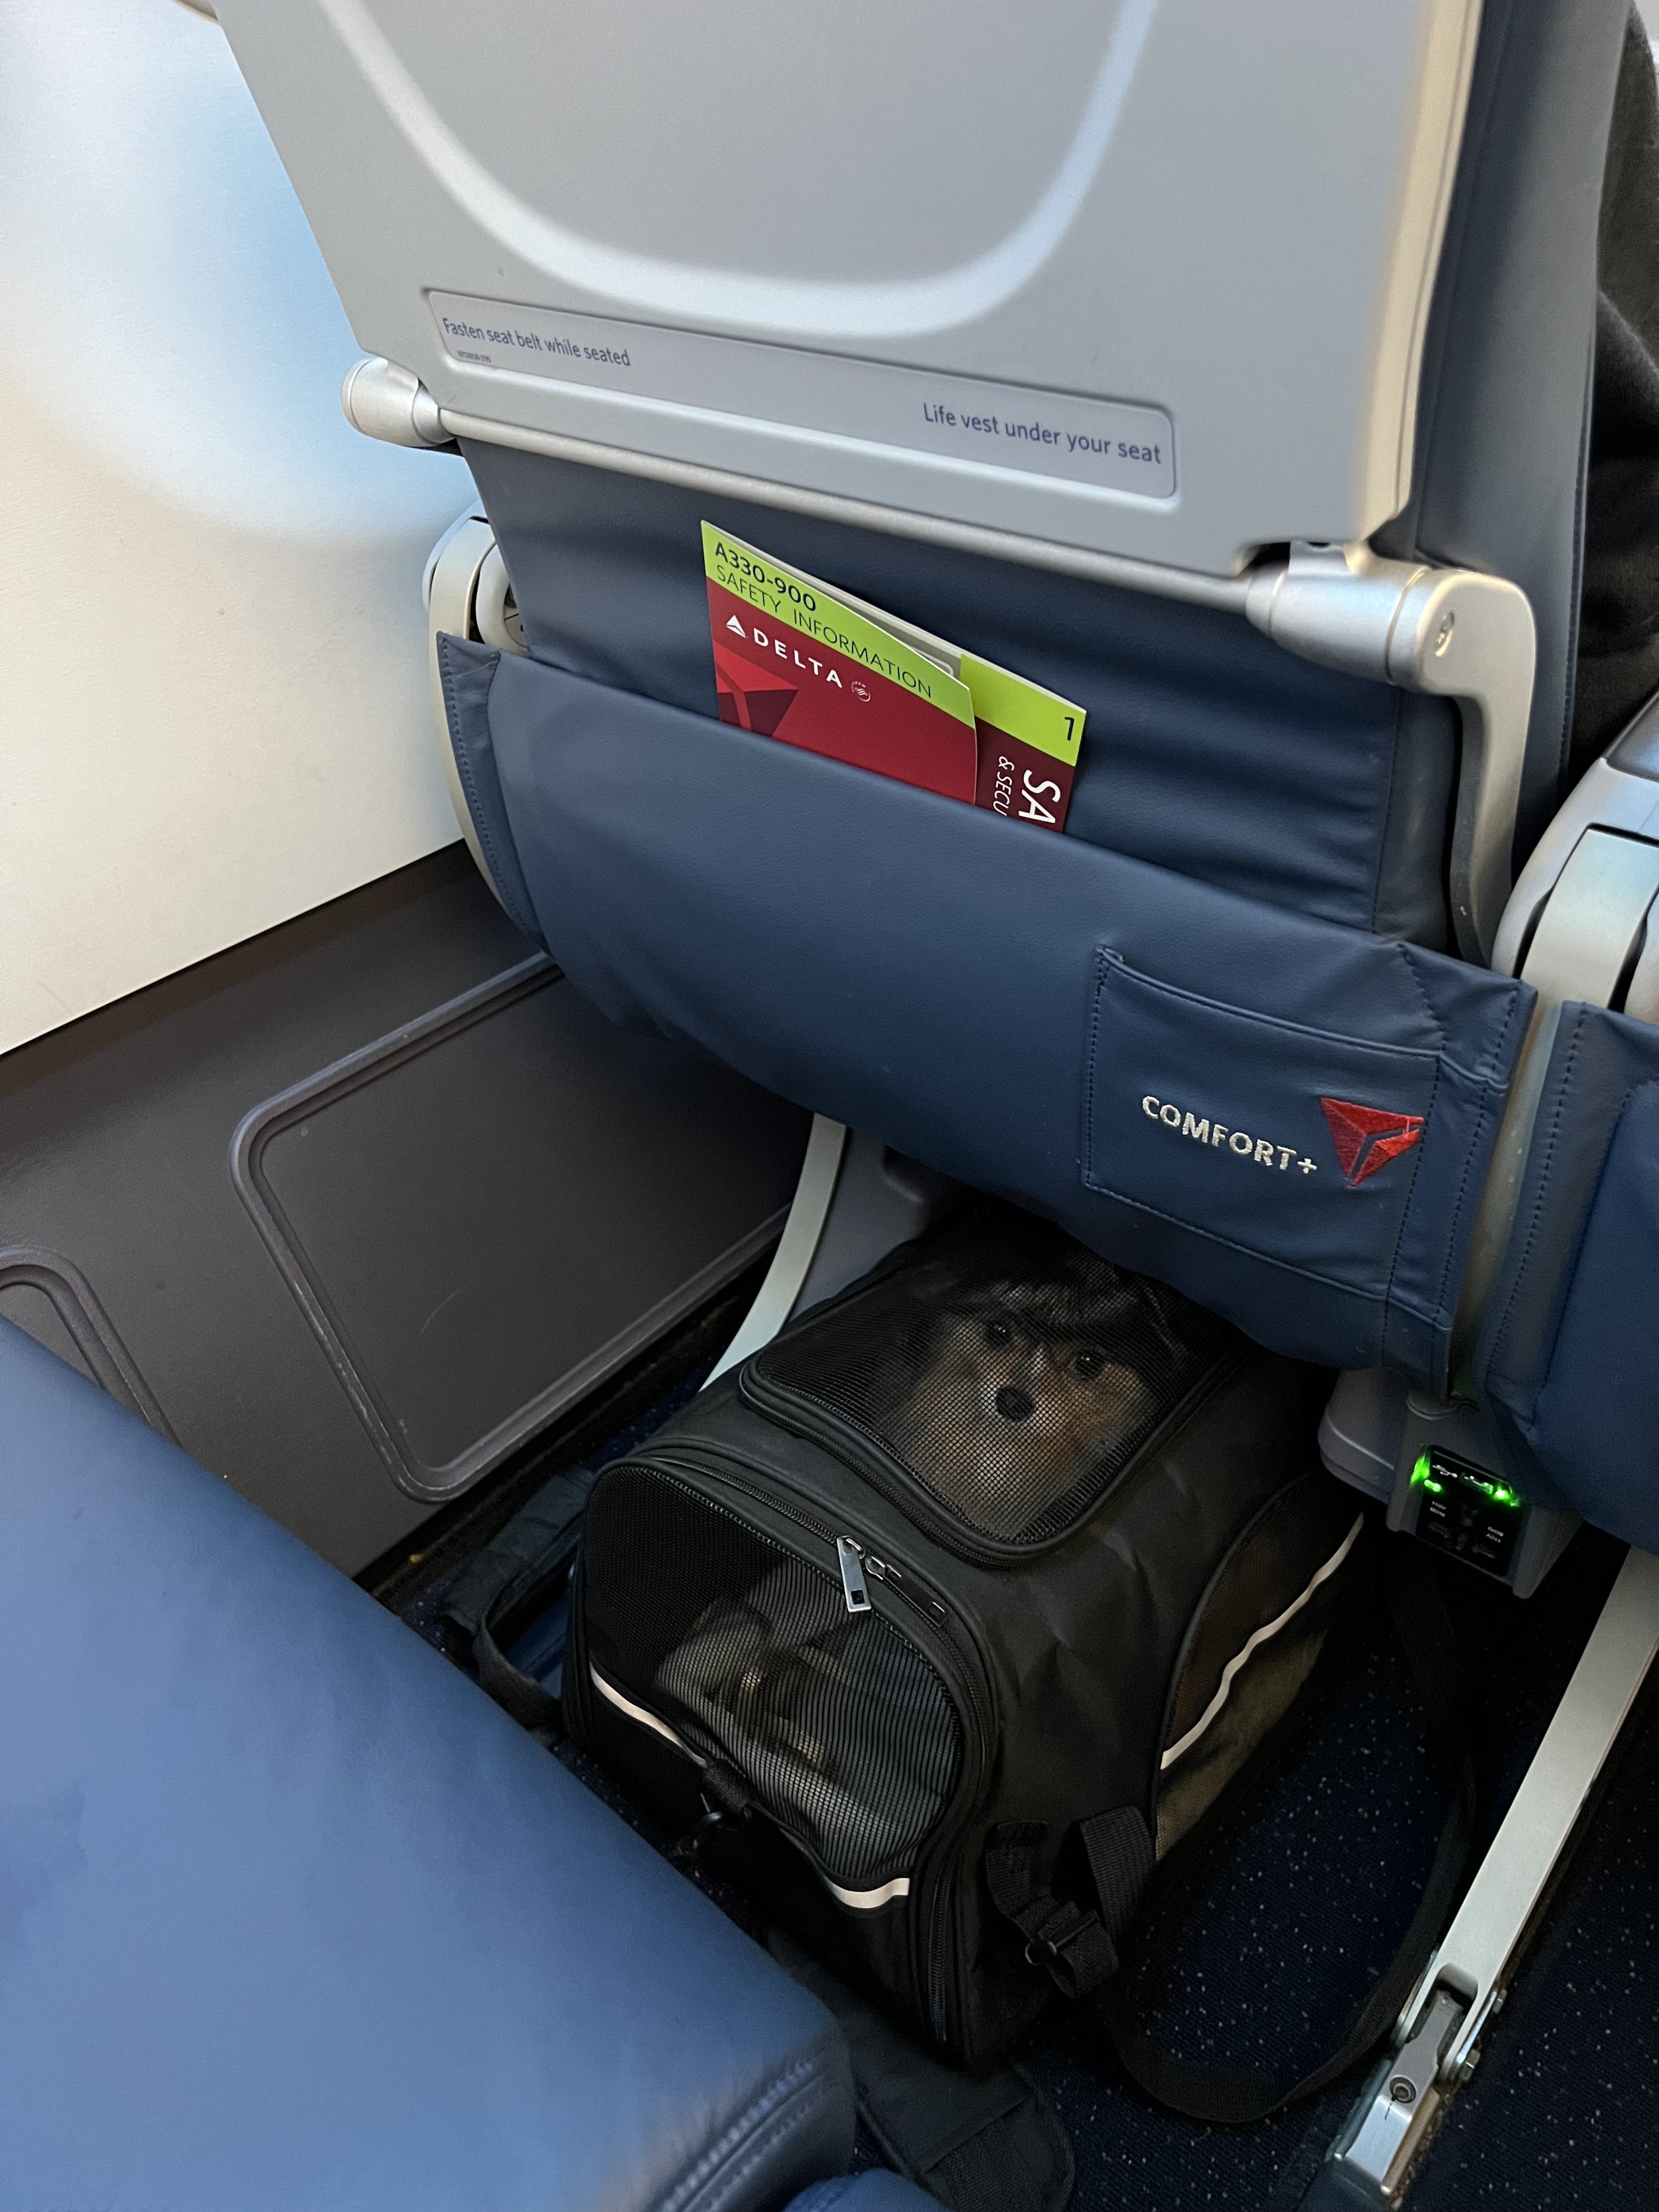
16. Brace for a potentially rough landing
My dog stays in the carrier underneath the seat in front of me throughout the flight, and whenever we are about to land always lean over to pick up her bag, so she’s suspended in the air in case touch down is rough. Landings tend to be relatively loud and jarring, so I’ll also speak to her to soothe her with my voice if it happens to help.
While the fees and costs associated are considerable, it’s worth it to be able to bring my best little buddy along for the journey. Are you planning to travel internationally with your pet in the cabin and have any questions about my experience? Let me know in the comments below.

UPDATE: JULY 2024
Last week we celebrated the first anniversary of the day my sweet dog Gigi came into my life, and to mark the occasion I published a thorough review of the Amazon Pet in Cabin Travel Carrier that we’ve now used on 22 flights and 7 airlines. Click here to read our review, and discover the list of all the airlines we’ve flown together.
I’ve also compiled a checklist of all the considerations I take into account when preparing to travel internationally with my pet. If you’re curious, you can check out the list here: A Checklist of Considerations for Traveling Internationally with a Pet in Cabin
Shop my favorite accessories for traveling with a pet in cabin for your next flight


This post contains affiliate links and at no cost to you, I may earn a commission which allows me to keep this site free for all readers. I only recommend properties, products, brands, and services that I personally use and believe in.